 |
 |
|
Screened image |
Microtext on the image |
Lesson 4
Let's create an example of full-color images for offset printing.
For the given example we will prepare three images:
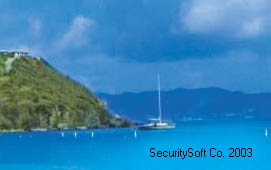
The image "A" - the basic image in color format CMYK, in the right bottom corner of which the microtext is located;
|
|
|
|
Screened image |
Microtext on the image |
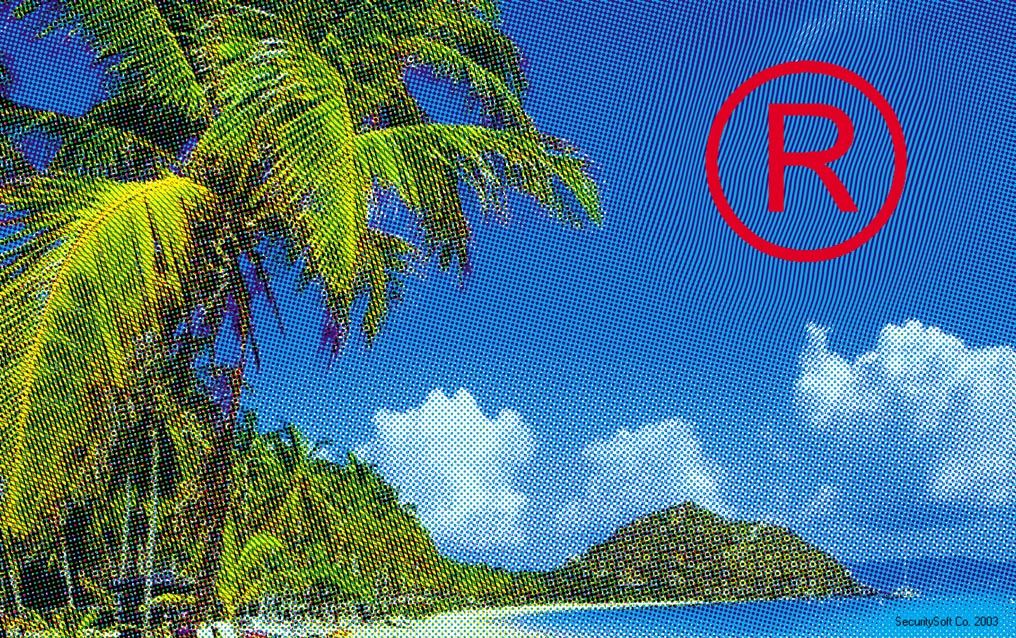
The image "B" will determine the change of the kinds of a raster in the final composition;
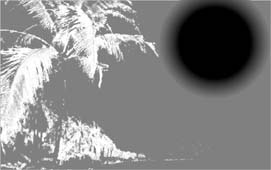
The image "C" is for introduction of geometrical distortions into the structure of a raster.
 |
 |
|
Additional image "B" |
Additional image "C" |
1. Start the program MATRIX®.
2. Specify a location of the screened image. Leave the resolution unchanged.
3. Specify a location of the image "B". Choose the position "Stretch". Blurring - 2.
4. Specify a location of the image "С". Choose the position "Stretch". Do not specify blurring.
5. Pass to the menu "Parameters".
6. Set the value of ruling 133 lpi.
7. Set the value of the resolution 2400 dpi.
8. Set the angles of screening "Shades of Green".
9. Dot gain compensation- 3.00.
10. In the menu "Dot Shape Modification" choose a mode "Based on the Image B". Rasters: "Bar" - "Round" - "Line".
11. In the menu "Deformation of Structure" choose a mode "Based on the Image C".
12. Set horizontal displacement 1.00, vertical - 0.50.
13. Use an option "Blur Autoselect".
14. Pass to the menu "Generation".
15. Generate a map of a raster.
16. Generate the structure of a raster.
17. Specify the name and a location of the screened files.
18. Generate the screened image.
19. Set 40 % filling of a verifying grid.
20. The deformation of structure of a raster is carried out on a background of the sky with the average value of color: Cyan-100, Magenta-50, Yellow-0, Black-0 %, therefore set the angle of a verifying grid of 75 degrees, appropriate to the color Magenta.
21. Choose a mode "No Deformation".
22. Specify a location and the name for a file of a verifying film.
23. Generate a verifying film.
24. Save the parameters of the project in order to use them afterwards.
25. Import four generated files of rasters for the color image into the graphic editor (Corel Draw, Adobe Illustrator, Macromedia Freehand, Quark X-press, Adobe Pagemaker or another).
26. For a raster Cyan set the filling 100 % cyan, a white background, and position it under the rasters Magenta, Yellow, Black.
27. For the rasters Magenta, Yellow, Black set an appropriate 100 % filling with an option “Overprint” and a transparent background.
28. Align four images in relation to each other and group them.
29. Not changing the proportions position the created composition in the necessary place of a layout.
30. Generate a print-file for offset printing. Print the production.
31. Produce a verifying film on a separate photopositive.
32. Check up the display of the latent pattern on the printed sample at the application of a verifying film.
 |
 |
|
Display of the latent pattern at the application of a verifying film |
33. If you have become confused in the menu of program MATRIX®, load a file of the project lesson_4.mtj and verify your installations.
• The values dpi and of dot gain compensation defined in the example may not suit your conditions of printing.
The list of applied files:
| A.tif |
-
|
the basic screened image |
| В.tif |
-
|
the additional image "B" |
| C.tif |
-
|
the additional image "C" |
| Out-С.tif |
-
|
the generated raster for color Cyan |
| Out-M.tif |
-
|
the generated raster for color Magenta |
| Out-Y.tif |
-
|
the generated raster for color Yellow |
| Out-B.tif | - | the generated raster for color Black |
| Net.tif | - | a file of a verifying film |
| Lesson4.mtj | - | a file of the project with the saved installations |
| Lesson4.html | - | a file of the present description |